Your Cart is Empty


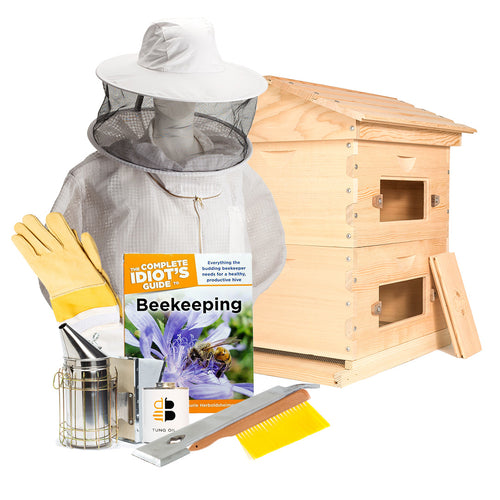
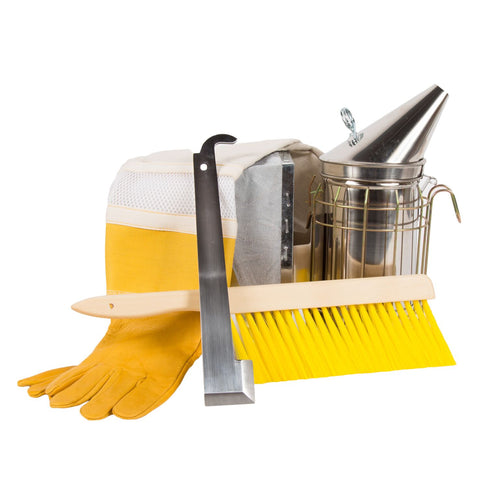
After using Langstroth hives, Warre hives and horizontal top bar hives, we feel that horizontal top bar hives are the most enjoyable to manage -- especially for new beekeepers. Top bar hives do require more visits to ensure the colony always has ample space for honey storage, but with the use of the window and simple bar manipulation, the maintenance is quick and efficient. In a top bar hive bees tend to attach their comb to the walls of the inner hive cavity. This requires an extra step: detaching comb from the hive before pulling it out. With our Ultimate Hive Tool, this is simple.
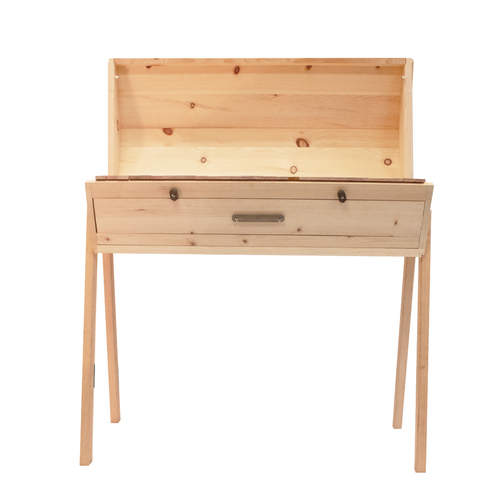
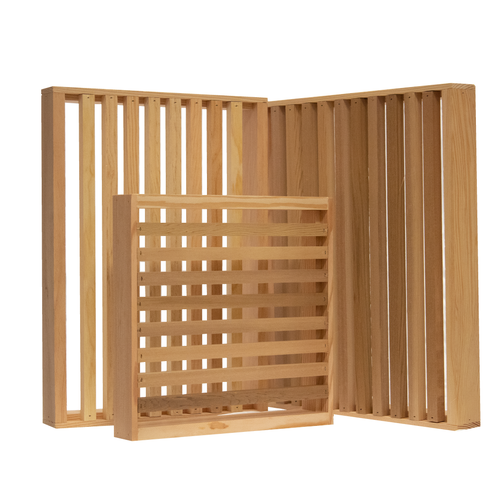
When you get your bees you should install them at one end of the hive with the follower boards spaced in such a way that 8-12 bars are accessible to the colony. Open only 1 entrance (the one the colony has access to), leaving the rest closed. Over the first few weeks the colony will rapidly build comb from the bars – it is at this time that you’ll need to play close attention to ensure that the comb is straight so you can easily manipulate it later on. If it is crooked or “cross-combed,” you will need to gently push it back into place on the bar. If you fail to catch the cross-comb early on, the problem will be exacerbated and it will become almost impossible for you to remove single bars of comb.
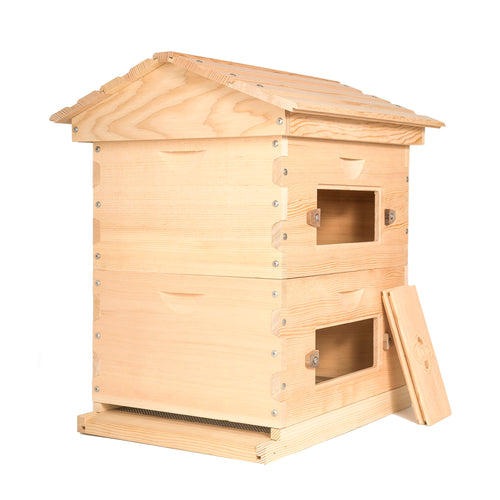
In a horizontal top bar hive, the bees will expand from the side out rather than vertically into stacking boxes. As the colony grows, slide the divider board, like a moving wall, down the hive cavity and add empty bars. In the height of beekeeping season, we recommend staying 3 bars ahead of their built out comb. After final honey harvest, you can shrink the size of the hive cavity, so there is less space for your bees to heat during the winter months. Horizontally expanding hives require frequent monitoring to ensure your bees have adequate space. These inspections, however, will be short and easy with the use of our full length window.
There will be consolidated chambers for brood and honey along the hive cavity even though their separation won’t be demarcated by separate boxes. A healthy brood chamber in a top bar hive will be the first 8-10 bars closest to the open entrance on the side of the hive you started on. Since the queen will naturally consolidate her brood chamber to the area of the hive closest to the entrance, we recommend only leaving 1 open if you intend to harvest honey. If there is more than 1 entrance, your queen will lay brood in many areas in the hive, and finding a full bar of honeycomb to harvest will be difficult. Our top bar hives have 3 entrances on the backboard of the hive body to allow beekeepers to expand their hive in the direction most convenient to them. The other 2 entrances should remain sealed with solid bungs.
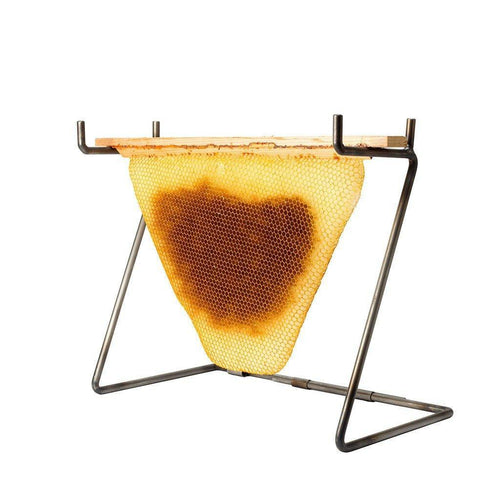
Honey harvest in a top bar hive is simple and requires few tools. Simply cut the comb from the top bars (our Ultimate Hive Tool is great for this), crush it up and strain using a mesh bag. Alternately, you can make a simple bucket strainer system using food grade buckets.
Note: We don’t recommend harvesting any honey in the first season, instead you should leave all of it for the bees and hope for a surplus next season!
As winter approaches you will want to check that the colony or colonies have sufficient stores – 30-50lbs here in Portland, Oregon. (If you are elsewhere, check with other beekeepers for how much honey you need to leave your bees.) If you have multiple colonies you can spread the surplus around to ensure all colonies have enough. Otherwise, depending on your beekeeping philosophy you can opt to feed 2-1 sugar syrup (We rarely feed in our own apiary, even if a colony is low on stores).
Reduce the entrances available (if you have one of our top bar hives, use the entrance reducing bung).
After final honey harvest, you can shrink the size of the hive cavity, so there is less space for your bees to heat during the winter months.